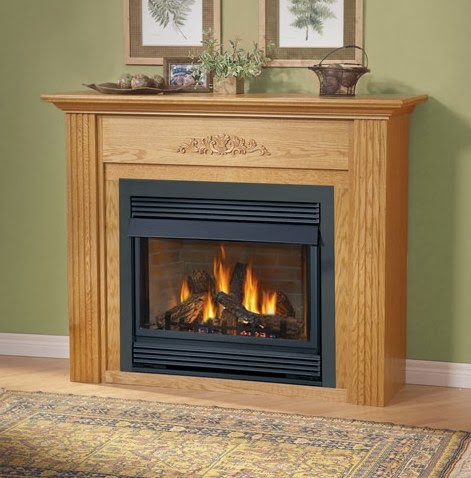
If you’re
looking to turn your old and drafty wood burning fireplace into a modern and
efficient gas-powered fireplace, you’re in luck. Today we’ll be talking about
how to install a fireplace insert to transform your fireplace into something that’s
more eco-friendly, energy saving, and easy to maintain and use.
Below, I’ve
provided a step-by-step of how to install your new insert. If you think you
might need some extra tools to help you get going, check out plumber’s stock
for a large, discounted selection of HVAC equipment by clicking here. Keep in
mind that this project will take you about 2 days to complete, so dedicate a
weekend to work on it. Also keep in mind that when shopping for an insert,
you’ll be looking to spend anywhere from $200 to $500.
1. Attach vent pipes – The first step in this installation process is to attach the vent pipes. You’ll want to use sheet metal screws to attach the vent pipes to the insert’s mounting plate. Make sure the exhaust pipe attaches to the exhaust outlet as well to decrease chance of carbon monoxide poisoning.
2. Prep fireplace – Remove the existing fireplace damper and test fit the vent pipes into the chimney flue. Remove the ash cover to clear up space for the placement of your new insert.
3. Install firebox – Attach the insert’s leveling legs and set the firebox in. Adjust the legs so the firebox is centered and level.
4. Attach gas and electric lines – Since you’re going to be transforming an wood fireplace into a gas one, we’ll need to run gas and electric lines into the new insert. The gas will serve as the main fuel source while the electricity will work to power a fan. Please use caution, as working with gas and electricity is hazardous and can result in personal injury if done incorrectly. If you do not feel qualified to perform this step, call in a professional.
5. Install the insert – Place the insert near the firebox and attach gas and electric lines to it according to the manufacturer’s instructions. Now slide the insert into the firebox, but be careful not to kink or bend the gas line. Position the mounting plate with the slots on top of the insert, lining up the vent pipes with the holes on the insert. Secure the sliding plate to the insert using a self-tapping screw. If necessary, adjust the leveling legs once more to make sure the entire unit is level.
6. Accessories – This is easily my favorite part of the whole process, as you get to be creative about how you want your fire to look. Unhook the retaining clips from the bottom of the glass panel and carefully remove the glass. Place the embers inside the fireplace, spaced about ½ an inch apart. Place any larger pieces near the base to make the fire look more realistic. Scatter the ash around the edges of the burner plate, then place the ceramic logs inside. Replace the glass panel and clips.
7. Install the receiver – Follow the manufacturer’s instructions to install the receiver for the remote control. Place the receiver outside the firebox to protect it from heat, then do a test run to make sure all the components are working.
8. Install the surround – Last step! Slide the surround over the two tabs on the top of the fireplace unit. Use screws and attach the surround at the base of the insert. Install the screen over the surround’s glass front.
That’s all there is to it. A new
and beautiful gas-powered fireplace is within your reach waiting for you to
enjoy.
